How to lay engineered wood floors
Quick-Step engineered wood floor installation
Once the flooring code has been selected, read the code's instructions and determine how to install it. Uniclic® Multifit hem helps join planks during construction.
Download instructions for installing engineered wood floors
Step 1. Choose to mount it with a lock or glue it to the floor
Engineered wood flooring can be installed with a lock or glued directly to the floor. Floating mounting makes it easier to replace individual boards when needed.
Read the instructions applicable to the floor code and application method selected before starting.
Step 2. Prepare the background
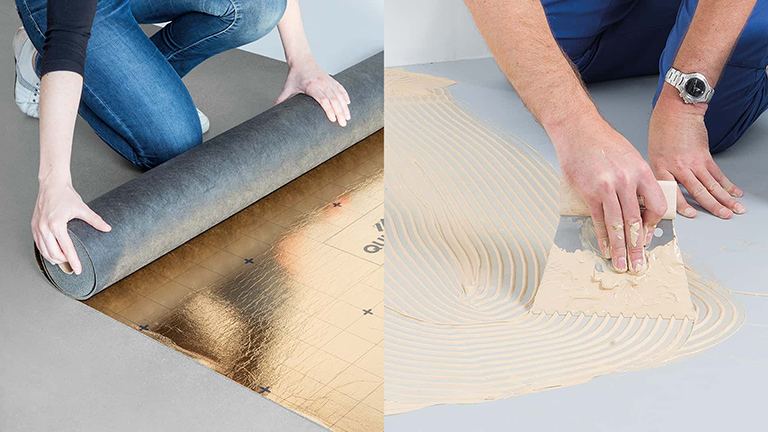
Check the existing substrate type. The floor needs to be flat, stable, clean and free of loose pieces of wood, planks or bricks.
If tiling on old tiles, check tile joint width and flatness according to floor code instructions.
What about underfloor heating? Please take your time to read the installation instructions before construction.

Step 3. Choose primer or glue
Choose a suitable backing if surface mounting or use compatible glue if applying directly.
Quick-Step lining can block moisture, insulate, reduce sound transmission and compensate for slight roughness depending on the type. The smooth surface makes it easy to lay the boards and allows the floor to stretch after installation.
If gluing flooring to the substrate, select Quick-Step adhesive according to flooring code instructions.
Step 4. Prepare tools
Prepare enough measuring, cutting, joinery tools and protective gear before working.
Hammer and saw are two basic tools. See full list for selected mounting method.

Step 5. Spread the primer
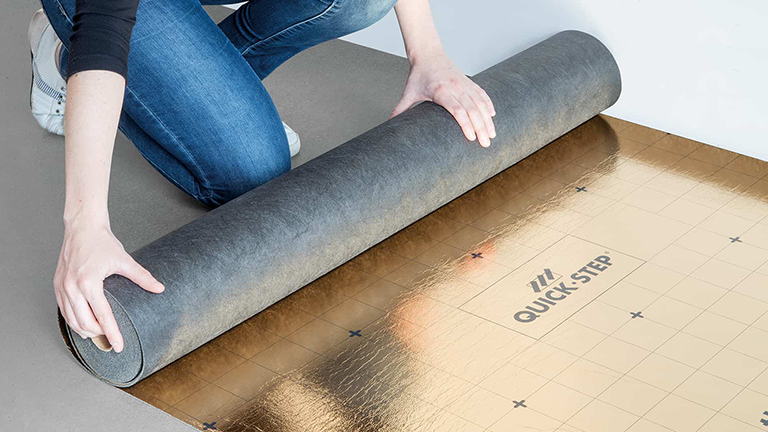
Apply underlayment if surface mounted. If pasting directly to the background, go to step 6.
- Unroll the lining and press the edge against the wall.
- Lay each strip in the same direction as the planking in step 6.
- With built-in moisture barrier lining, use the seam and the available adhesive strip to join. If the edge cannot be used, seal the joints with tape to maintain moisture barrier.
When laying the underlayment, check with technical data sheet.

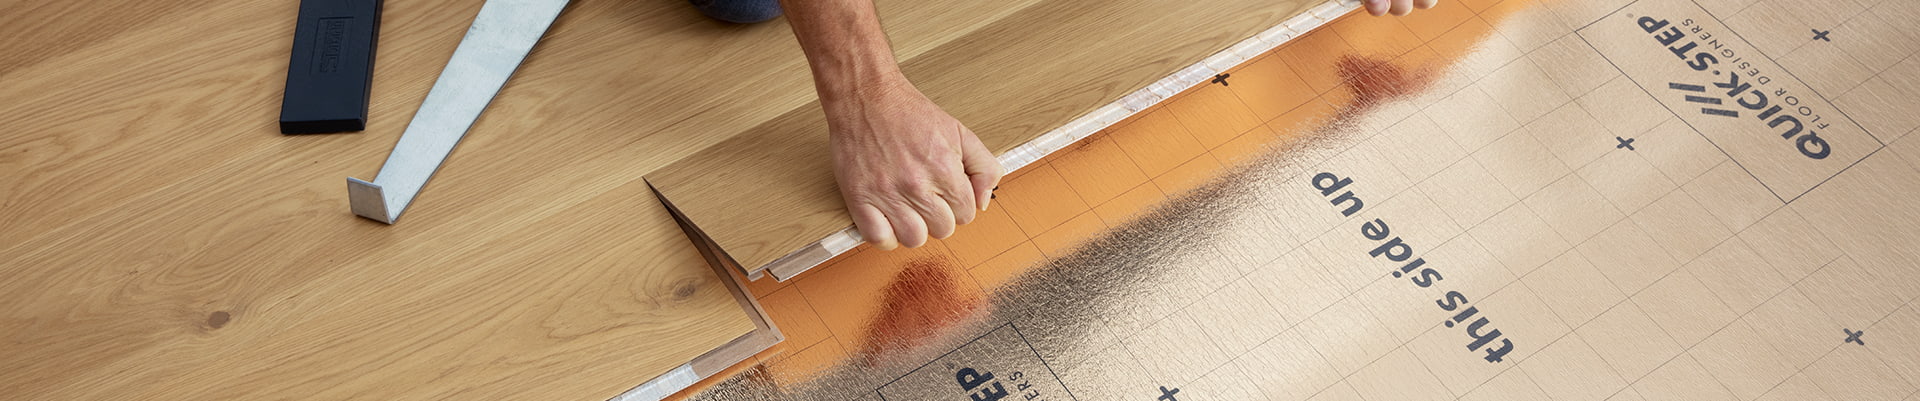
Step 6. Lay engineered wood flooring
The following steps apply to both surface and glue mounting.
- Divide the room width by the width of one board to calculate the number of rows of whole boards.
- Mark the position of the last row of solid boards on the wall. The row of edge boards needs to be at least 4 cm wide for ease of installation.
- Open multiple boxes and mix boards to avoid placing overlapping boards or tones in one place.
- Align the first row parallel to the longest wall. Leave some distance from the wall as the edge of the wall may not be straight.
- Arrange the board end joints between two adjacent rows staggered at least 30 cm.
- Join the second surrender sheet with the first surrender sheet as shown in the video and then continue to join the remaining panels.

Step 7. Saw the board
Wear gloves and use a pencil to trace the cut line to actual size. Place the decorative side facing up or down depending on the type of saw.

Step 8. Install skirting boards and braces
After tiling, install skirting boards and synchronous braces at floor edges and transition positions.

Floor installation FAQ
See frequently asked questions to find out how to handle situations when laying and finishing floors.